Ikea Kallax Hack
DIY | Sep 2023
Hi, I’m Gianna
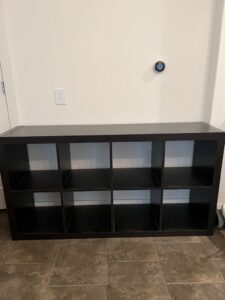
Today, I’m going to show you the transformation process of our IKEA Kallax storage unit. This piece of furniture has been with us since my husband’s bachelor days and was used as a storage unit in our entryway for a while.
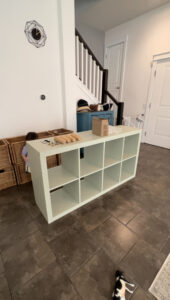
However, we recently installed a built-in cabinet in our entryway, so we were debating whether to sell the Kallax secondhand or find a new use for it. Since our daughter needed a suitable storage unit for her room, we decided to refurbish it and repurpose it for her use. Here is the before photo.
I was contemplating whether to paint the storage shelves pink to match the one pink wall in my daughter’s room. I didn’t want everything to be pink, so I was hesitant. Then, I saw this picture in an Instagram ad. It’s a baby shoe, and the color combination is so adorable that I thought, ‘This is it!’

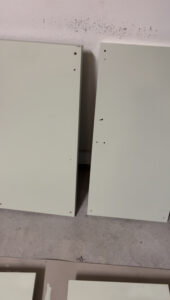
So, I started searching for similar paint colors and began the painting process. I applied primer first and then painted it twice. But from this point on, the real challenge of this project began. I had to disassemble all the shelves and paint them in the garage, and mind you, this is Texas. Even in September, we’re talking about temperatures well above 100 degrees Fahrenheit. No matter how late I painted, the temperature still hovered around 90 degrees at night. I experienced firsthand that painting in such heat is the worst possible weather for it.


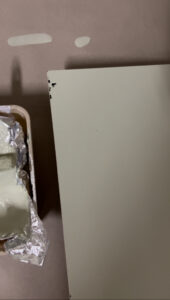
The problem was that the paint peeled off during the moving process, even though I had painted it beautifully twice. I thought maybe I should have primed it before doing the sanding, but it was already in the past. I decided to touch up only the peeled-off parts and began the repair work. It was still hot outside. So, I left it to dry for a long time, and later brought it inside to dry again. The repaired parts weren’t perfect, but they were good enough that you wouldn’t notice unless you looked closely.

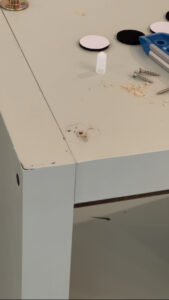
Now it’s time to assemble and attach the wooden legs I had in mind. But wait, what’s happening? To fix the wooden legs, I needed to drill holes. However, Kallax is made of particle board and fiberboard, so I couldn’t drill holes into it. Even when I tried, the holes ended up too big, and the screws for the wooden legs couldn’t secure properly. I really wanted to give up at this point. I had already struggled with the paint, and now this issue with the legs… I couldn’t undo the holes I had drilled, and the thought of discarding the whole thing crossed my mind. But I couldn’t let go of all the effort I had put in so far. So, I gathered my determination again.
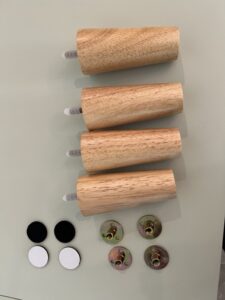
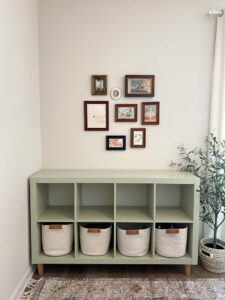
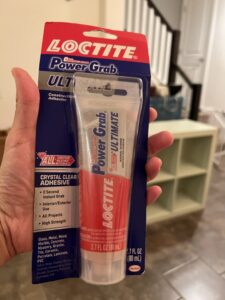
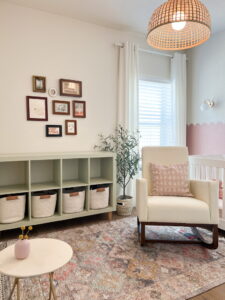
Now, the final solution was to secure the legs with liquid nails since the screws wouldn’t hold. After letting the adhesive dry for a day, I moved it to my daughter’s room.
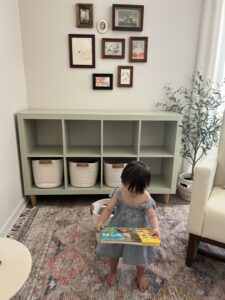
It was a lot of hard work, but it matched perfectly with the pink theme in her room. It was a moment of great satisfaction after all the challenges. This is the charm of DIY interior design; there are always challenges, but I find ways to overcome them. Through DIY interior projects, I learn about life, practice patience, and discover more about myself.
However, I wouldn’t recommend attempting a Kallax remodel! haha
See you next time. Goodbye!

Shop the post
wood reg