Laundry room
Transformation Part.1
DIY | Sep 2021

Hi, I’m Gianna.
Today, I want to share the huge transformation process of our laundry room. First, take a look at the before photos below!
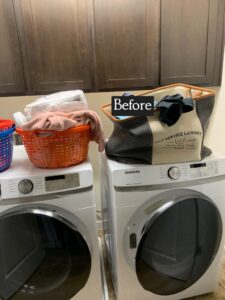
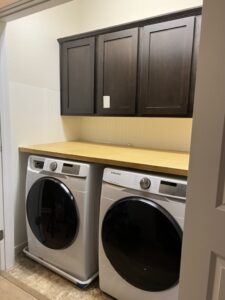
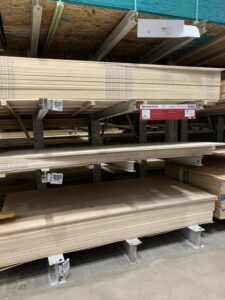
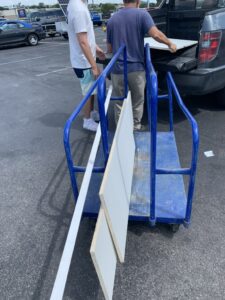
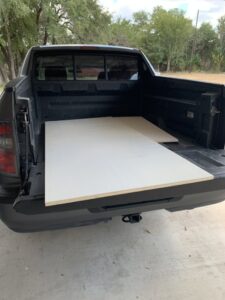
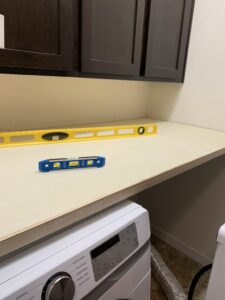
Our laundry room setup was very simple, with cabinets and the washing machine and dryer. To optimize space, we placed laundry baskets on top of them. On days with a lot of laundry, clothes would sometimes fall in between. To address this, I decided to enhance the functionality by adding a table on top. First, I went to Home Depot to purchase a wooden tabletop. They offer a service where they can cut the wood to the size you need, which is convenient.
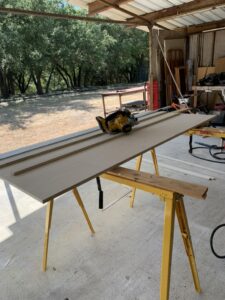
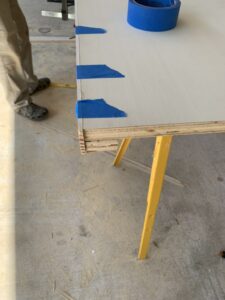
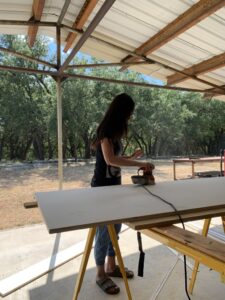
I added a 2-inch plywood piece in the middle of the cut plywood tabletop to prevent it from bending. Also, I cut and attached another 2-inch plywood piece to the front. This was a trick to make it look neat from the front view. I add thin molding to this part. Then, I sand the plywood surface to make it smooth.
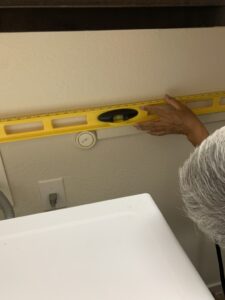
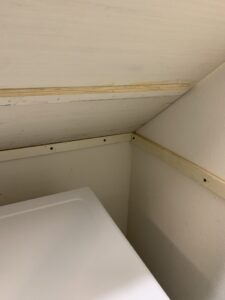
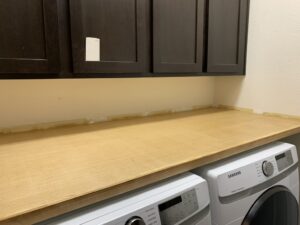
After working at my father-in-law’s house, we brought the table to our home. We determined the placement for the plywood and the first step was to find the studs in the wall and nail 2-inch wide wood pieces, which would serve as the support for the tabletop. I placed two at the back and one on each side.
Now it’s time to apply the stain to the plywood tabletop. Here, I made a mistake… I underestimated the smell of the stain. I regretted not staining the wood first before putting the tabletop in place. I highly recommend doing the staining outdoors or in a well-ventilated area!
The stain I used was Varathane: Early American. I applied it twice and, for added protection, I also applied Polyurethane for waterproofing.
Writing about this project made me realize how much work we’ve done. Since the post is getting long, I’ll continue with Part 2.
In Part 2, I’ll show you how we utilized cabinet paint and paintable wallpapers. See you soon!